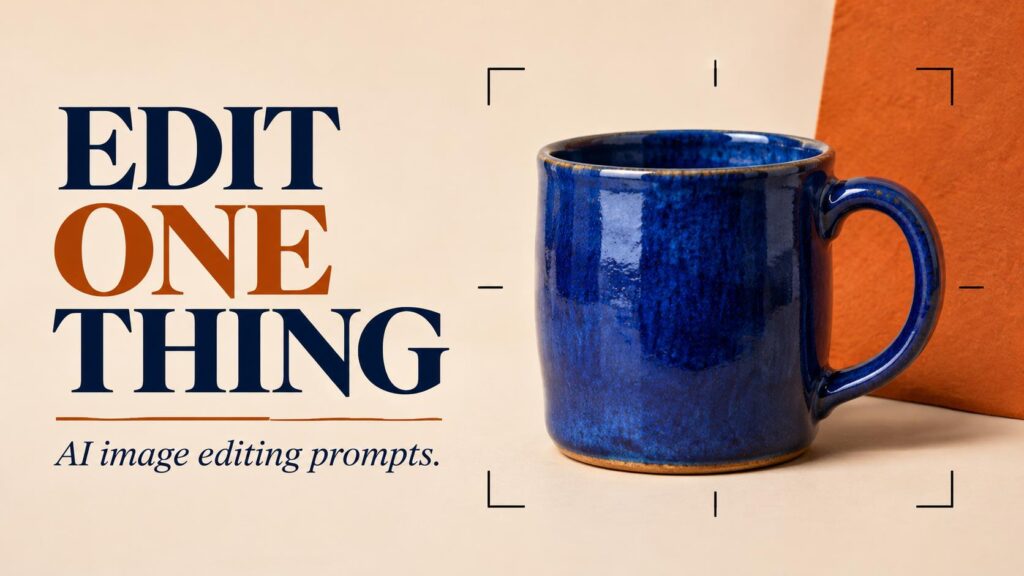
You ask an image editor to swap a backdrop. It returns a good-looking photo with a slightly wider mug, a different handle and a changed reflection. The requested edit worked, but the image no longer shows the product accurately.
Good AI image editing prompts give the editor a specific change, a location and details to preserve. The examples below cover six common fixes and show what to inspect before using the result.
Write the edit as a short instruction
Start by identifying the part of the image that needs work. “Replace the backdrop behind the mug with matte pale gray paper” gives the editor a visible target. Add the details that carry meaning, such as the handle profile, glaze color, crop and the position of the mug on the table.
Choose an observable result. For a backdrop replacement, you can compare the hue against a sample, inspect the edge of the handle and check whether the shadow still meets the base of the mug. “Make it premium” gives you no equivalent pass or fail check.
Reusable prompt
In the supplied photo, change [specific region] to [visible result]. Preserve [subject details, framing and important colors]. Match [light direction or texture] at the boundary. Return a single image at the original aspect ratio.
Use this as a starting point. If the editor has a crop or output size control, set that in the interface. Keep the prompt focused on the visual change.
Six prompts to adapt to your own images
The examples use an imaginary ceramic mug and simple studio photos. Replace the object, color and position with details from your own source image.
1. Replace a busy background
Replace the wall and tabletop behind the cobalt mug with a smooth, warm gray studio backdrop. Keep the mug’s rim, handle, glaze, position and camera angle. Use a soft contact shadow directly beneath the base.
Look through the opening in the handle. That area belongs to the background, and it can retain the old color even when the rest of the edit looks clean. Inspect the edge for a bright outline or a fringe from the previous wall.
2. Remove a distracting object
Remove the folded receipt in the lower right corner. Fill that small area with the surrounding wood grain and lighting. Preserve the mug and the original crop.
Include the receipt’s shadow in the selected region if it should disappear with the receipt. Inspect the grain direction at the join. A broken plank line is more noticeable than a small difference in texture.
3. Recolor one accessory
Change the fabric napkin to muted terracotta. Keep its folds, weave and position. Preserve the cobalt mug, the wood tabletop and the existing direction of light.
Check whether the new color has spread onto the mug or the table. Compare a neutral area of the original and edit. If it has a strong tint in the edited version, try a smaller selection or an adjustment layer in a conventional editor.
4. Soften a hard shadow
Soften the hard edge of the cast shadow behind the mug. Keep a short, darker contact shadow under the base. Preserve the object’s blue glaze, handle shape and placement.
The contact shadow helps the mug read as resting on the table. Review both the shadow and the highlights. A shadow that suggests light from the left should agree with reflections on the ceramic.
5. Extend the canvas for headline space
Extend the studio scene to the left with the same tabletop and plain wall so the mug sits on the right side of a wide composition. Continue the surface lines and light direction into the new area. Keep the original mug and its scale.
Use a canvas expansion control when the editor offers one. Check the final dimensions before export. Add your headline in a layout tool so the text can be edited and aligned across other images in the same campaign.
6. Protect exact label text during a scene edit
Replace the background behind the product with a pale neutral wall. Preserve the existing packaging shape and every printed letter, line break and logo position. Keep the foreground crop and product color.
Compare the printed text character by character. If it must remain exact, keep the original foreground on its own layer and place a generated backdrop underneath it. That approach gives you direct control over the original label pixels.
Use a selection when the change is local
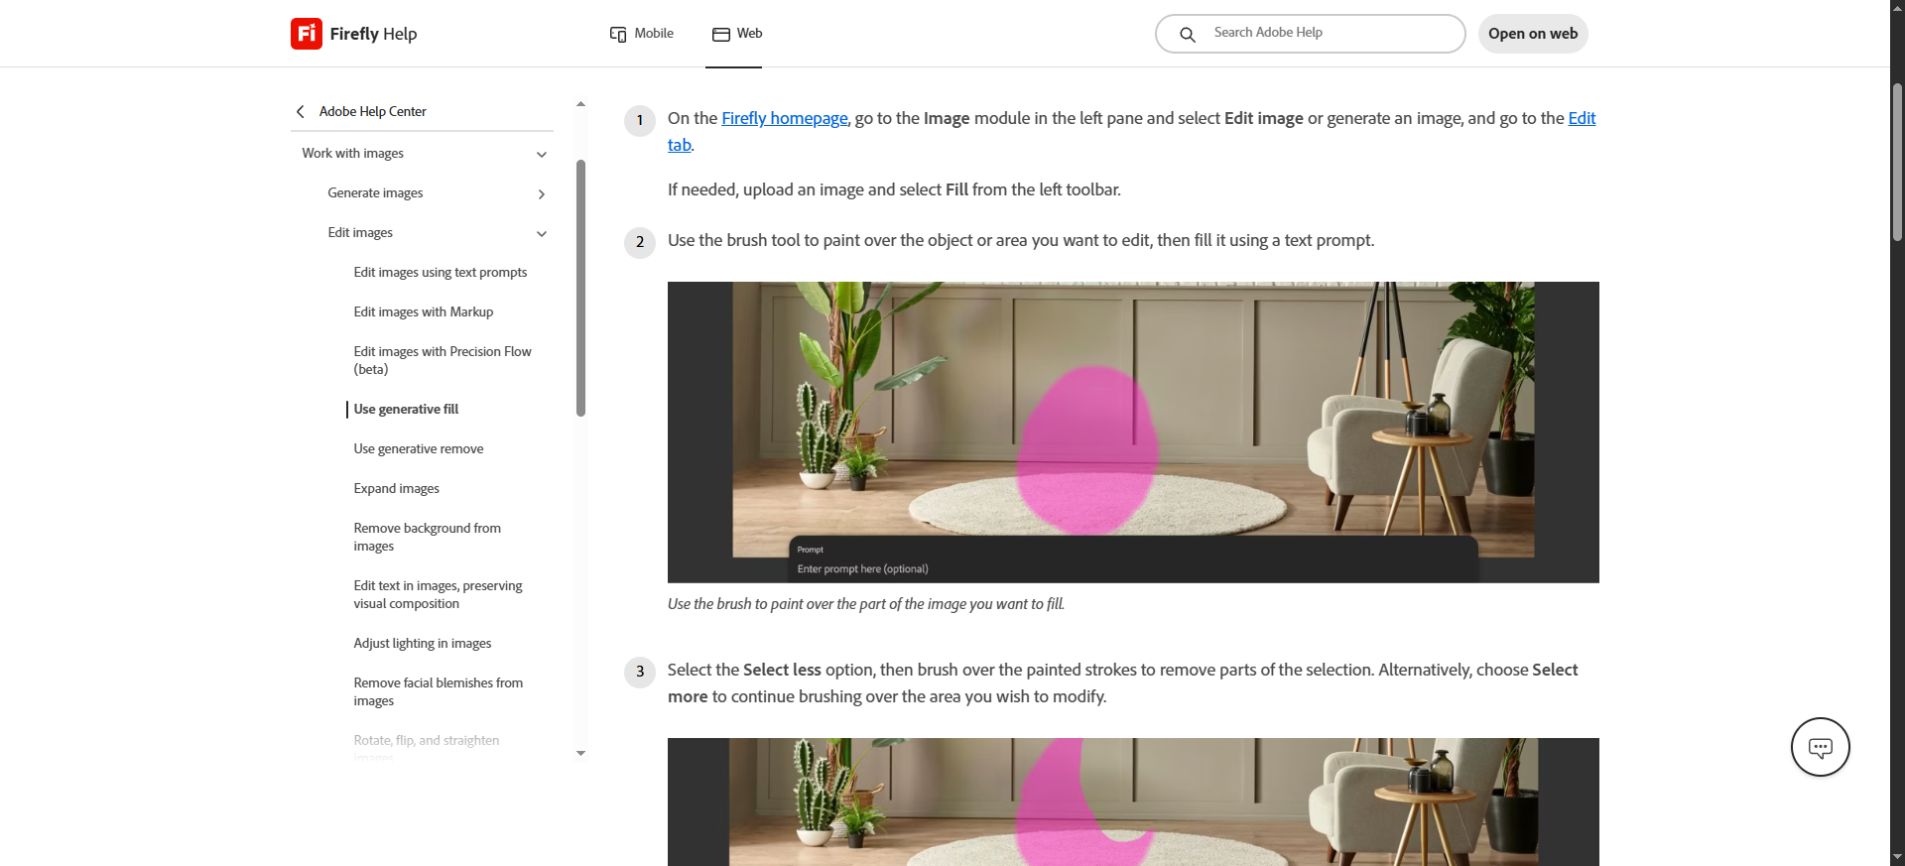
A selection gives the editor a visible boundary. In Adobe Firefly’s Generative Fill workflow, you can brush over the area, refine the selection and describe what should fill it. Include enough surrounding texture for a clean join and keep the selection clear of edges you need to retain. Adobe’s Generative Fill instructions.
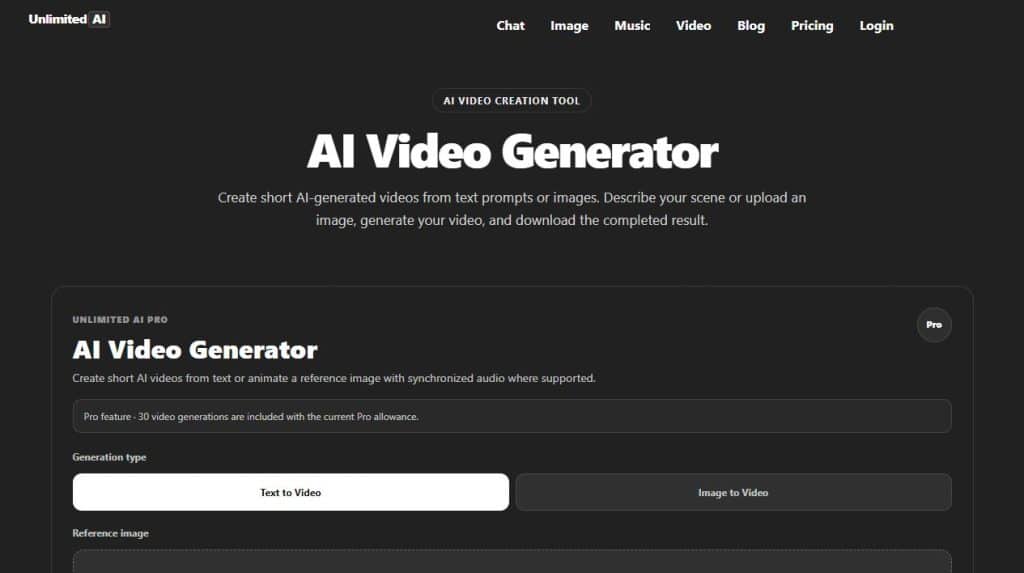
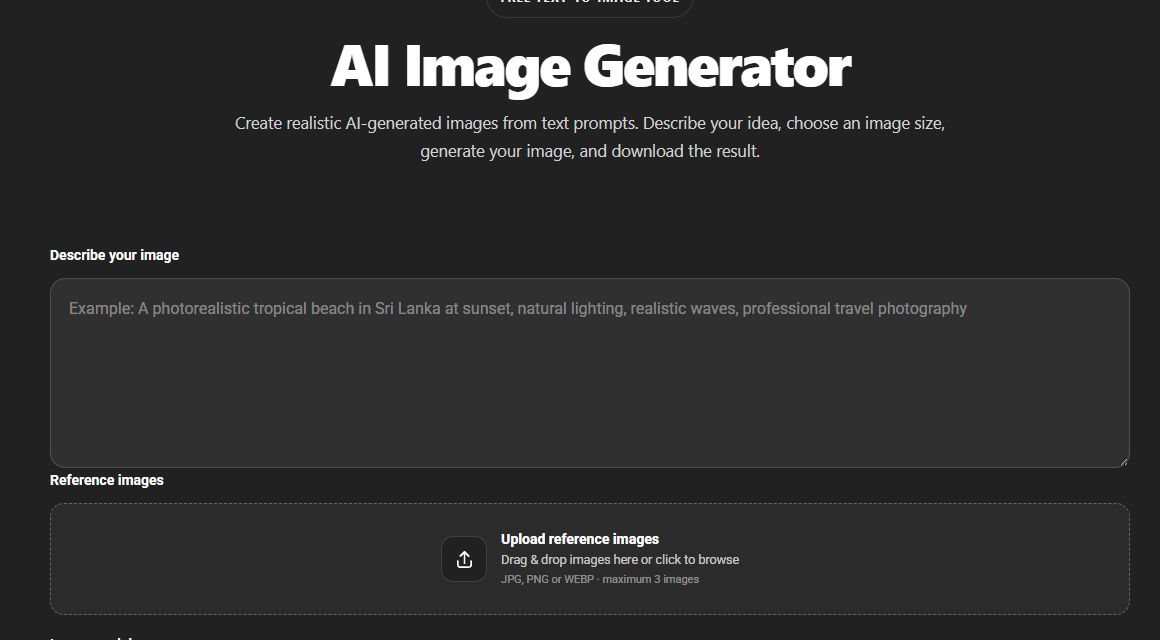
If you are working with a reference-image editor, attach the source before writing the edit. Use one reference for the image you want changed. When you attach a separate color or style reference, identify which detail it should guide. Unlimited AI image generator.
Check the change at two viewing sizes
First compare the images at the size readers will see. Check whether the new backdrop, color or shadow supports the intended use. Then zoom in to check fine details such as logos, object boundaries, printed lettering and seams in the filled area.
Keep the original file and label the edit with a version number. Save a good background change before attempting a second change. If a later edit drifts, you can return to the last version you approved or work directly from the original.
Match the editing method to the job
- Precise crop or resize. Use a crop or export control and verify the dimensions.
- One color correction. Try a masked color adjustment when the original texture needs to be preserved.
- Missing scenery. Use a selected fill or expansion and inspect the join.
- Exact brand assets. Keep the original logo or label on a separate layer and review the final export.
If you also need more pixels for a larger layout, decide on the crop before enlarging the edited image. Review any fine detail added during enlargement. Guide to AI image upscaling.
Frequently asked questions
Can a prompt guarantee the rest of the image stays identical?
A prompt describes the intended boundary. The editor and its controls determine what pixels are affected. Compare the full output with the source, and use layers or a mask when a region must stay exact.
Should I make all six changes in one prompt?
Start with the change that matters most. Review its result before adding another instruction. This makes it easier to identify which operation introduced a changed color, crop or object shape.
What should I do if the editor keeps changing the subject?
Reduce the selected region or start again from the original. If the foreground must be exact, isolate it and composite the new background behind it. Inspect the foreground boundary and contact shadow in the export.