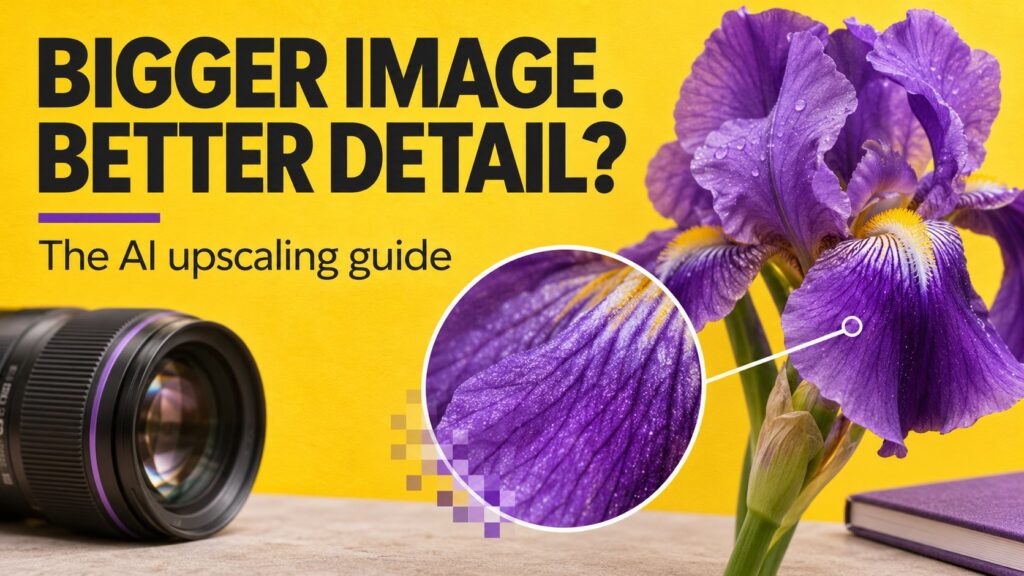
An image looks sharp in a small preview, then falls apart when you stretch it across a blog header or print it. An AI image upscaler can make a larger version look more usable, but the extra pixels are not a guarantee of recovered truth. Sometimes the improvement is cleaner edges. Sometimes it is convincing detail that the original never contained.
The useful goal is simple: produce the size you need while keeping the subject believable and accurate. This guide explains how to choose an enlargement method, calculate a sensible output size and inspect the result before you publish it.
Quick answer: Start with the best original, choose the smallest enlargement that meets your needs, compare the output at the same display size and check faces, lettering and fine textures. Keep the untouched original so you can reverse the decision.
First, work out whether you need more pixels
Before choosing a tool, check the image’s actual width and height. A file that looks small on screen may already contain enough pixels for the intended layout. Enlarging it anyway adds processing time and can make the download heavier without helping the reader.
For example, a 1600-pixel-wide photograph displayed in a 780-pixel-wide article column already has roughly two image pixels for each displayed pixel on a standard CSS layout. Whether it needs further enlargement depends on the display, crop and intended use—not the fact that an upscaling button exists.
If you only have an 800 × 600 image and need a 1600 × 1200 output, a 2× linear enlargement is the relevant starting point. A 4× enlargement would create 3200 × 2400 pixels. Those are very different file sizes, even though both may be labeled with a small multiplier.
| Starting image | Linear scale | Output dimensions | Total pixels |
|---|---|---|---|
| 800 × 600 | 2× | 1600 × 1200 | 1.92 million |
| 800 × 600 | 4× | 3200 × 2400 | 7.68 million |
| 1200 × 800 | 2× | 2400 × 1600 | 3.84 million |
These examples multiply both dimensions by the scale factor. Check each product’s wording: “4×” may refer to linear dimensions or total pixel count, and the difference matters. Pixel count alone also says nothing about whether the image contains useful new information.
What an AI image upscaler actually changes
Conventional resizing estimates new pixels from nearby ones. AI upscaling uses learned image patterns to produce a larger output, potentially making edges and textures look more natural. The result depends on the model, the subject and the defects already present in the source.
That distinction explains both the appeal and the risk. The model may produce a plausible fabric weave, eyelash or brick pattern, yet plausibility does not prove that the original scene contained that exact feature. Treat enlargement as an edit that needs review, especially when accuracy matters.
Upscaling is also different from sharpening and noise reduction. Sharpening changes edge contrast; denoising reduces unwanted variation; enlargement changes pixel dimensions. A tool may combine these operations, so a dramatic improvement can come partly from smoothing or sharpening rather than extra resolution.
Two documented options to consider
The options below illustrate two approaches: a standalone desktop application and a feature inside a photography workflow. This is a documentation-based guide, not a hands-on comparison or a claim that either tool will win on every image.
Upscayl Desktop: a standalone starting point
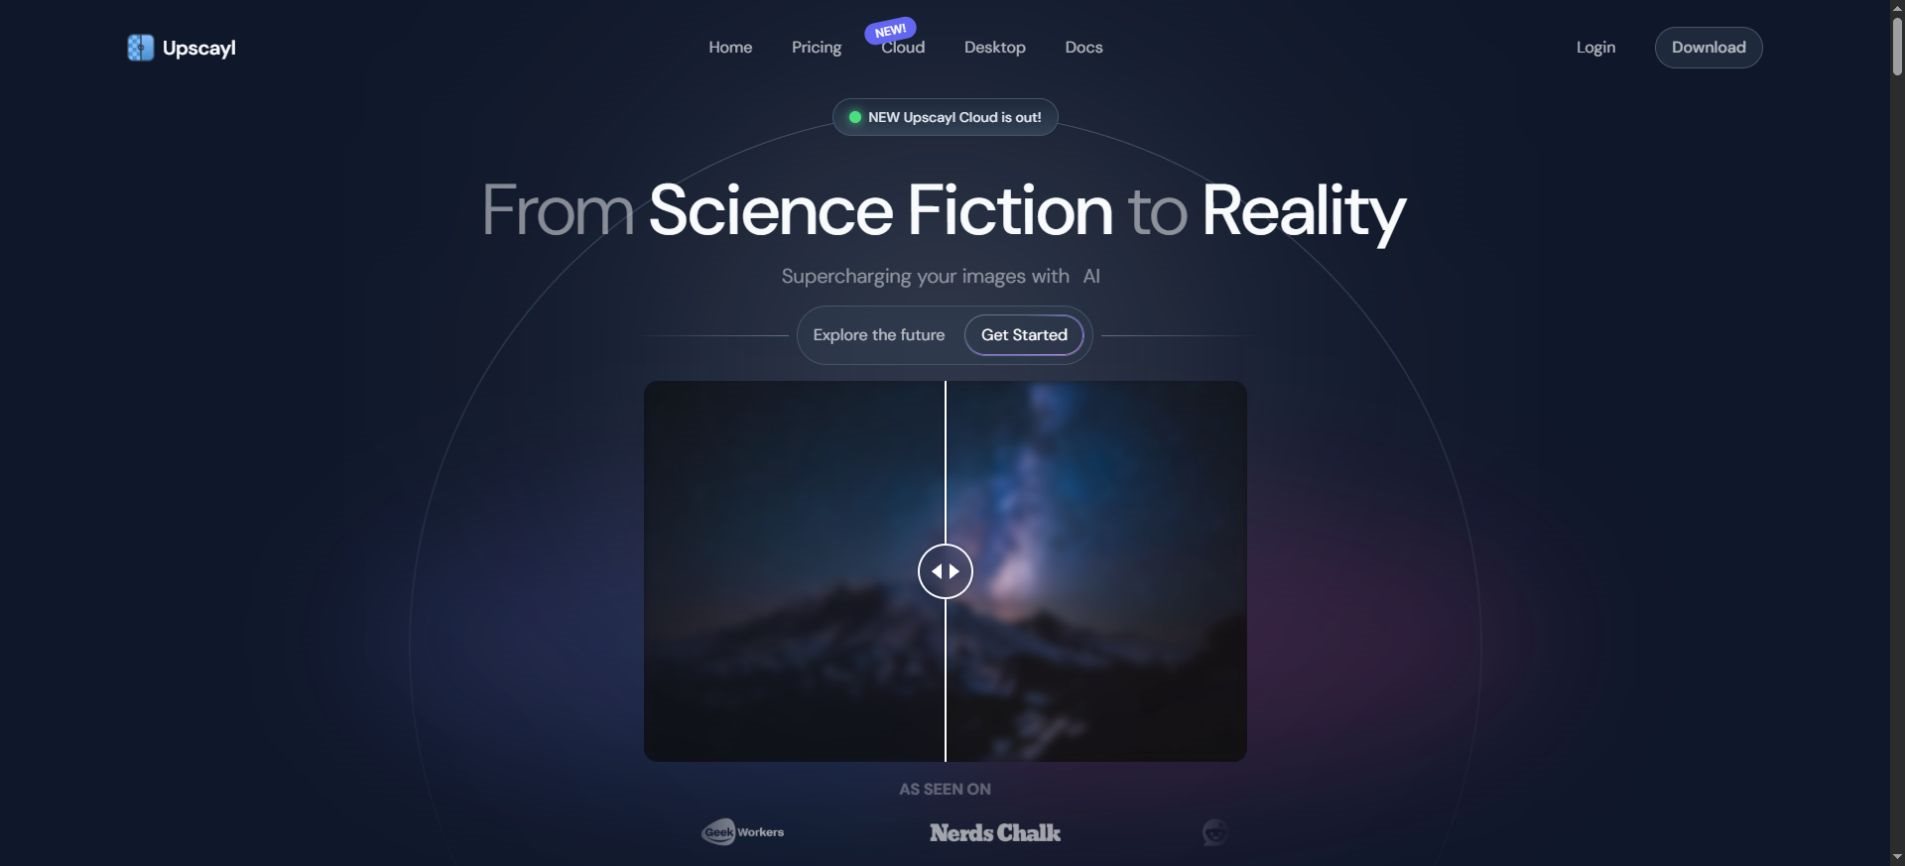
Upscayl’s official project provides a free, open-source desktop image upscaler for Windows, macOS and Linux. Its documentation says a Vulkan-compatible GPU is required and notes that many integrated GPUs do not work. Check compatibility before planning a large batch.
A standalone tool is worth considering when you want to process a folder without reorganizing an entire editing workflow. Try a few representative images first. A model that works well on a clean illustration may produce a different result on a noisy photograph.
The Upscayl website also distinguishes Desktop from its Cloud offering. Review the specific product you are using rather than assuming the same processing, pricing or data handling applies to both.
Adobe Camera Raw: Super Resolution in a photo workflow
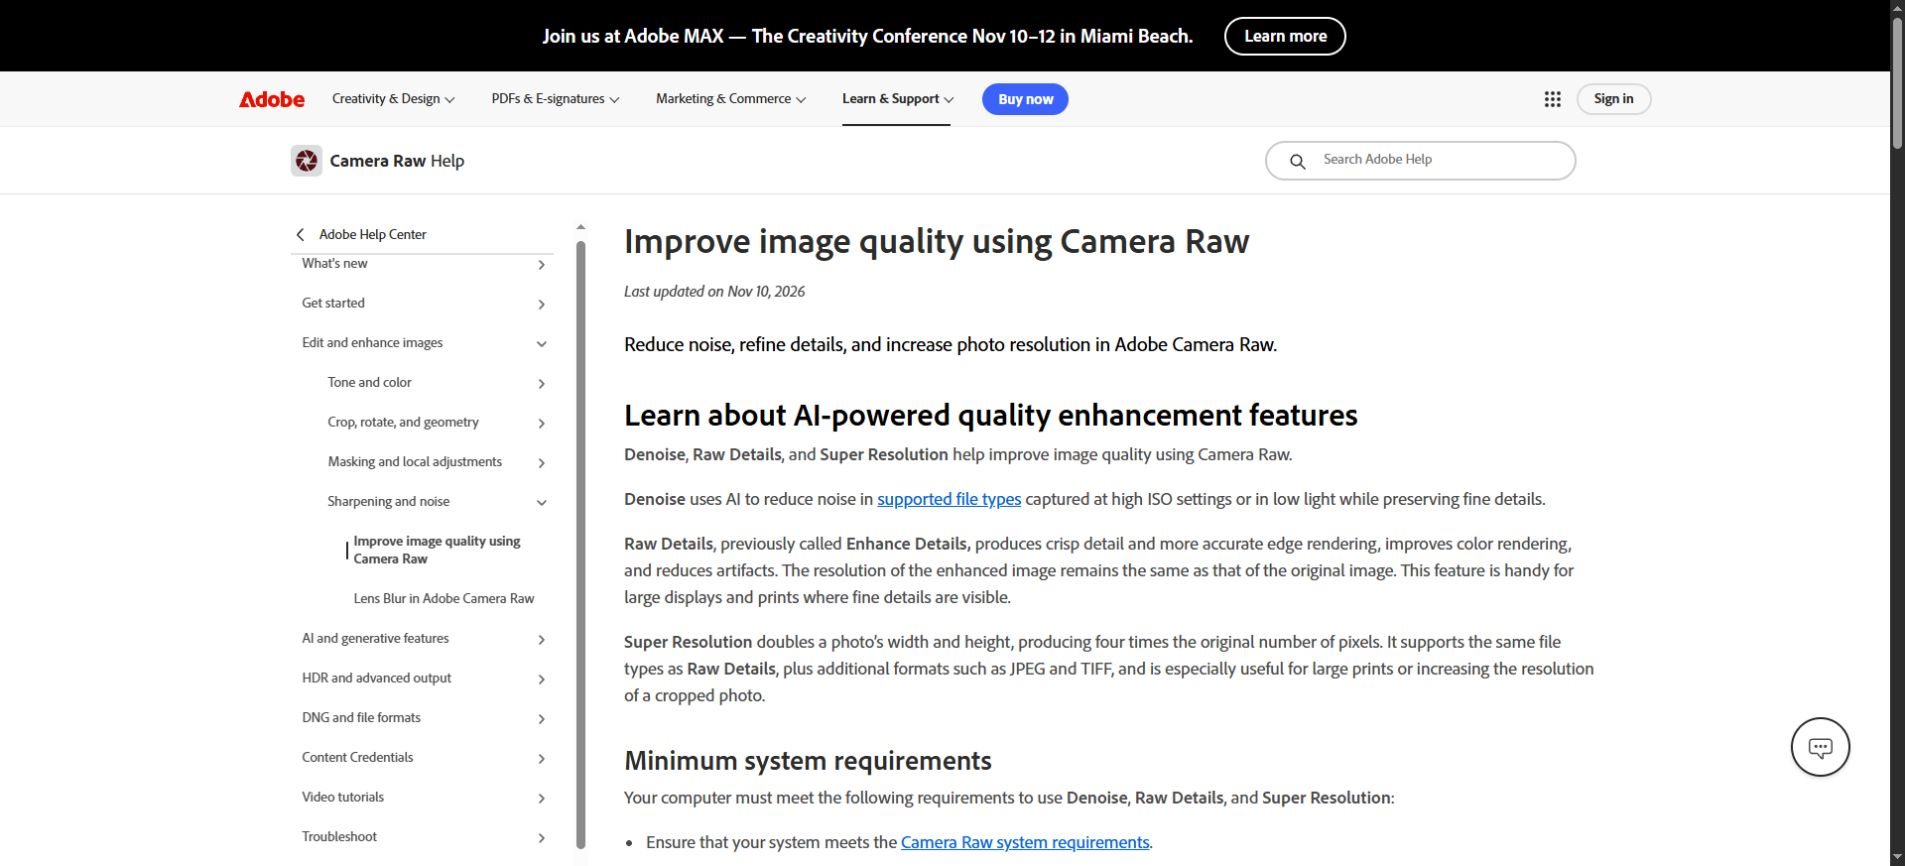
Adobe’s Camera Raw documentation explains that Super Resolution doubles an image’s width and height, producing four times as many pixels. Adobe distinguishes it from Raw Details, which does not enlarge the image, and Denoise, which addresses noise.
The current instructions place Super Resolution under Edit > Detail in Camera Raw. Adobe also notes that it is not available through Photoshop’s Camera Raw Filter. Consult the current documentation for file support and system requirements rather than following an old screenshot of the interface.
If you already organize photographs in an Adobe workflow, this may be a convenient place to begin. Compare the enlarged result with a simple resize before deciding whether a separate application adds enough value for your particular files.
A practical enlargement workflow
Keep the source and set a destination
Work from the original camera export or highest-quality file you can obtain. A screenshot of a photograph, a thumbnail from a messaging app or a repeatedly compressed JPEG usually gives the model less reliable information. Save a working copy and keep the original untouched.
Decide where the image will appear: a website, a presentation or a print. For print, a useful calculation is pixels divided by the intended pixels per inch. A 2400-pixel-wide image printed at 300 pixels per inch is 8 inches wide. Ask the print provider what resolution suits the actual viewing conditions.
Make one conservative test
Begin with the smallest scale that meets the destination size. If the tool offers different models, choose one appropriate to the material and test one alternative. Avoid changing scale, sharpening, face enhancement and noise reduction all at once, because you will not know which setting caused a problem.
Use an informative filename such as ceramic-vase-original.jpg and ceramic-vase-upscaled-2x.jpg. If you experiment with several settings, add a short note about the model and version. That makes a useful result reproducible and a failed result easier to diagnose.
Compare fairly, then inspect closely
Place the original and output at the same final display size to judge whether enlargement helps the intended use. Then inspect the output at 100% to check for artifacts. Comparing a tiny original with a much larger enhanced image can exaggerate the apparent improvement.
For a product photograph, check edges, logos, labels and surface texture. For a portrait, inspect eyes, teeth, hair and skin. For architecture, look at straight lines, repeating windows and fine railings. The most impressive-looking area is not always the most informative place to check.
Export for the destination
A large working image does not need to become a large website download. Keep a high-quality master, then make a separate web-sized export with an appropriate format and compression level. Review the compressed version too: an export can introduce artifacts that were absent in the editor.
If you are using an image made with Unlimited AI’s image generator, check composition, spelling and anatomy before enlarging it. Upscaling an incorrect detail can make the mistake more visible. Regenerating or editing the source may be the better next step.
Know when to stop
The biggest multiplier is rarely the best default. Stop when the image meets its purpose and further processing adds halos, waxy textures or invented detail. A slightly softer image can be more believable than an aggressively enhanced one.
- Hard edges gain bright outlines: reduce sharpening or try a gentler model.
- Faces change identity: disable face reconstruction if available and compare against the original.
- Lettering becomes nonsense: use the original artwork or recreate the text accurately in a design tool.
- Textures repeat unnaturally: try a smaller enlargement or a different model.
- Important details remain uncertain: obtain a better source instead of treating generated pixels as evidence.
No enhancement setting can establish what an unreadable serial number, distant face or obscured document actually showed. Preserve the original for any situation where the image serves as a factual record. A generated interpretation should not silently replace that record.
That is a practical example of avoiding overreliance on AI: inspect what changed instead of accepting a cleaner-looking output as automatically more accurate.
What to check before uploading a private photo
For a cloud service, read its upload, retention and deletion information before sharing personal or client images. Confirm whether processing happens locally or remotely. A familiar product name or a desktop-looking interface does not answer that question by itself.
For a team, a small approved sample can establish the workflow before anyone uploads an entire archive. Check permissions for the images and choose a storage location that keeps originals separate from edited exports. These habits make mistakes easier to undo.
Frequently asked questions
Can I use an AI image upscaler for free?
Free desktop options exist, including Upscayl, but hardware compatibility and processing time still matter. Online services may have separate limits or paid tiers. Check the current terms for the exact product rather than assuming every version is free.
Will it fix a badly blurred photograph?
It may make the photograph look cleaner or sharper, but it cannot guarantee recovery of the original detail. Strong motion blur, missed focus and heavy compression can leave too little reliable information. Always compare the output with the source.
Is 4× better than 2×?
Only if the larger output is useful and remains acceptable. A 4× increase in width and height creates 16 times the original number of pixels. That increases processing and storage demands without guaranteeing a better result at the final viewing size.
Does changing DPI make an image sharper?
Changing a resolution label without resampling does not add pixels. It changes the relationship between pixel dimensions and print size. To judge available detail, look at the pixel dimensions, the intended physical size and the quality of the source.
What is the best AI image upscaler?
There is no universal winner for every photograph, illustration and workflow. Compare a few representative files, inspect important details and include export quality, privacy and total cost in the decision. Keep the tool that produces a dependable result for your use case.
A successful upscale is one you can use confidently at the required size. Begin with a good source, enlarge only as far as necessary and make the final decision by inspecting the actual exported image.